In this article, we will take a look at all the tools that one will need in order to begin 3D printing effectively. As well as the tools needed to 3D print at a professional capacity.
Disclosure: This post contain affiliate links, we may earn advertising commissions for sharing products we know and love.
GENERAL TOOLS
1. Permanent marker
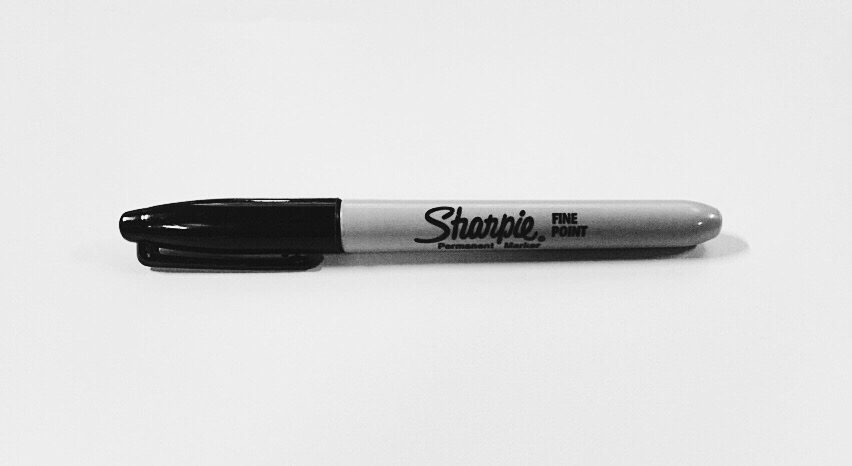
From tagging your filament spool cases or resin bottles, to maybe just signing your 3D printed work of art. The use of permanent markers is as basic as it can be varied. Permanent markers deserve a permanent spot in your 3D printing tool set.
2. Thermal camera or laser thermometer
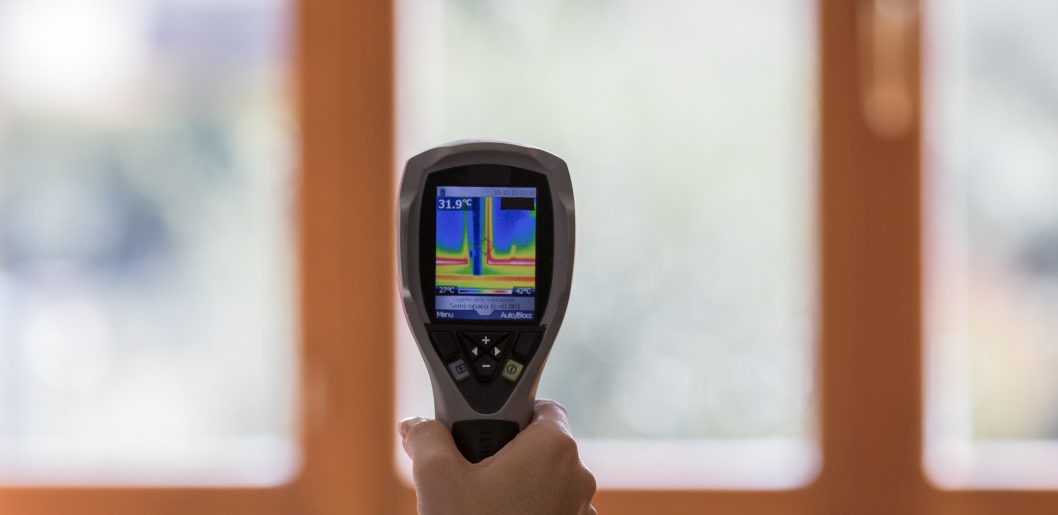
Thermal cameras and laser thermometers are non-intrusive ways of monitoring temperature on your 3D printers.
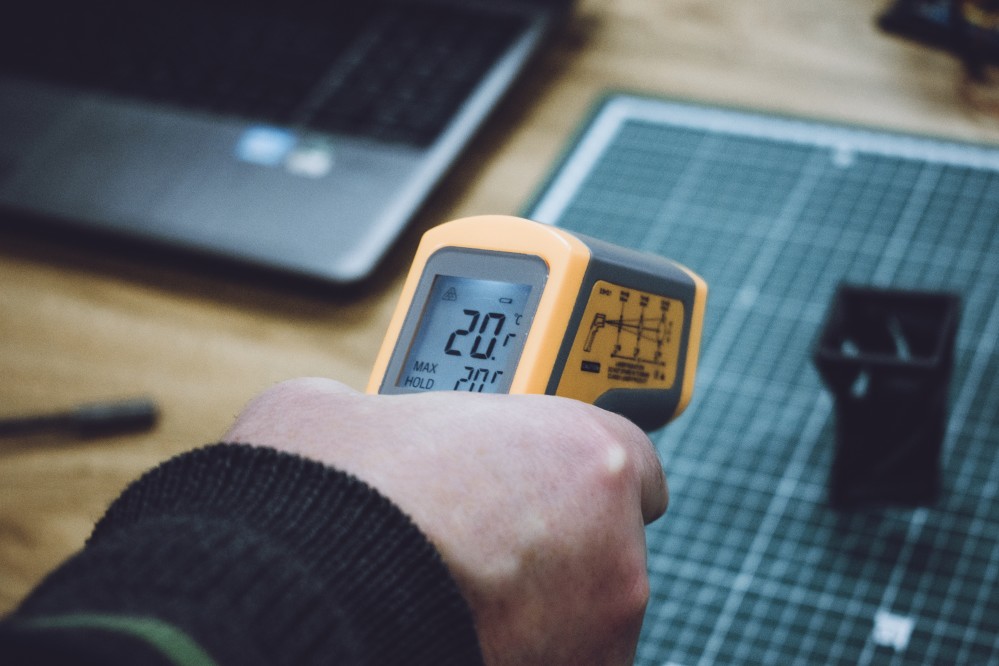
Thermal imaging, or even spot readings from a laser thermometer go a long way in seeing where you might need more heat or more cooling to ensure optimal print setup. That is all in addition to monitoring the thermal health of the 3D printers themselves.
3. Multimeter

An electronic multimeter is basically the electronic monitoring equivalent of a swiss army knife. A reliable multimeter will make finding any electrical fault infinitely easier, as well as checking if your replacement parts are working as they should.
4. Steel ruler

Ah, the steel ruler. As with all things that involve measurements, a 3D printing equipment set is incomplete without this trusty tool. Use it for all sorts of linear measurements. Even bed calibration in some cases.
5. Screwdriver set
A screwdriver set is a standard must-have in any toolkit. Not only are screwdrivers handy to have around for maintenance of the 3D printer, if you work on any complex 3D printing project, using actual machined screws for fastening the pieces is a good way to ensure structure strength and rigidity.
6. Magnifying glass
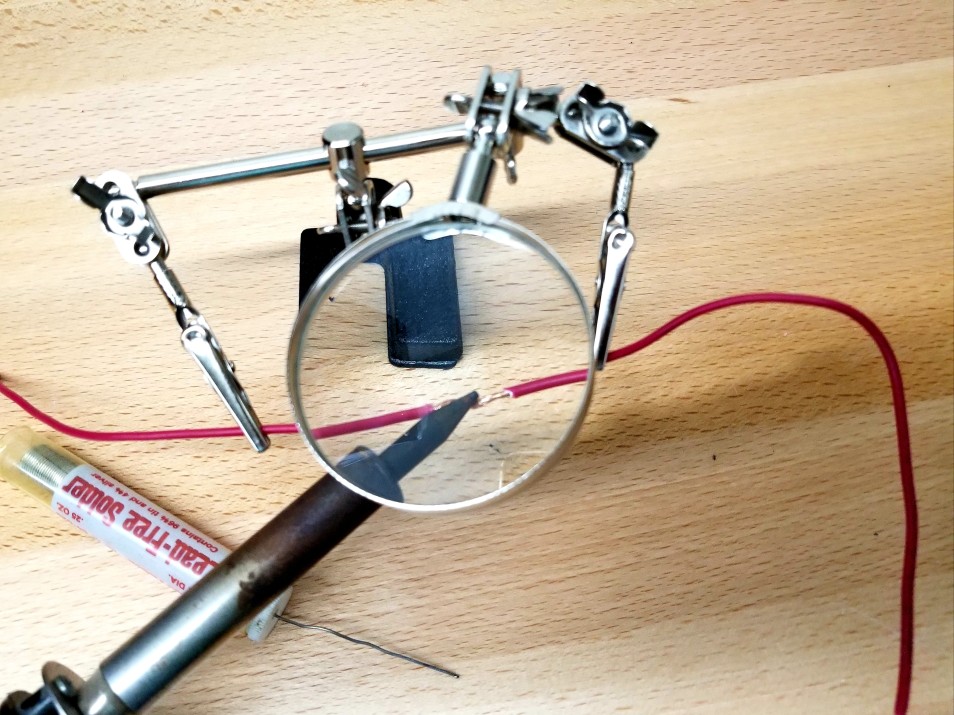
A lot of times post-processing a 3D print means having to work with very minute detail that you would want to preserve or enhance the correct way. A simple magnifying glass goes a long way in helping you to judge the intricacies that much better by eye.
7. Notepad
When completing complicated work with multiple parts, it’s a good idea to have and use a notepad for taking notes about measurements, supplies and assembly steps.
8. Super glue and general adhesives
It is always a good idea to have super glue as well as a small variety of adhesives on-hand. These can be (and are) used for quick repairs on the 3D printer, post-processing of the 3D prints, as well as to fix any of the other tools that may need it.
9. Desiccant
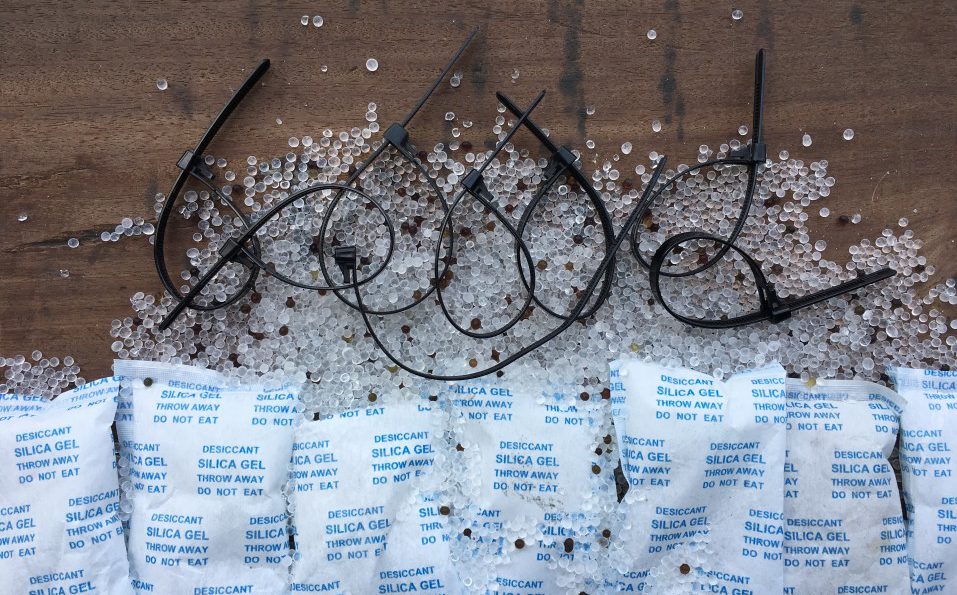
Silica gel is the most popular by far, though you may use any other out of preference. Simply keep desiccant packets with your filaments, and if you print in an enclosure, a good move is to keep some desiccant inside the enclosure. Your 3D prints will thank you for it.
10. Zip-ties
Zip ties also known as cable ties comes in handy for managing the many wires that are sometimes showing in 3D printing equipment. Aside from that, zip-ties are very useful for many 3D printing projects.
11. Airtight storage container
If you want to keep your filament nice and crisp to print with on day 100 as it was on day 1, a cheap and affordable way is to buy yourself a good airtight storage box or container. Throw in some silica gel packs and viola, storage conundrum solved.
12. Filament dry box
A filament dry box is a way of saving precious filament from waste by way of long-term exposure to humidity. Higher end boxes also conveniently act as storage containers in addition to drying the filaments.
13. Utility scissors
Scissors are useful for prepping and post processing procedures like support removal. There are many use cases where scissors will make things much easier. A pair of scissors is also useful cutting tapes to apply to head bed.
14. Print surface
BuildTak is a brand of 3D printing surfaces that are engineered to ensure optimal first layer adhesion. BuildTak print surfaces are inherently more expensive than Blue Tape or Kapton Tape, but they are also designed to be much longer lasting than either of the former. BuildTak surfaces are available in a variety of materials such as Original, PEI, and even Nylon.
15. Power drill
Whenever one works with hardware, a good power drill is always an ally. A drill is useful for drilling holes in a 3D print or even the 3D printer body itself. Preferably a battery powered drill as the wired ones could potentially be too powerful.
16. Tweezers
Always have a set of tweezers on-hand. From removing support to fiddling with the wiring. You never know when you need to tinker with an extra tiny part of 3D print or even the 3D printer.
17. Needle nose pliers
Needle nose pliers can used to remove the bigger support structures, tie metal wires around two 3D printed pieces to join them together, or just use the tip to poke a hole during finishing. Needle nose pliers are as important in the 3D printing toolkit as they are in any handyman’s toolset.
18. Wire cutters
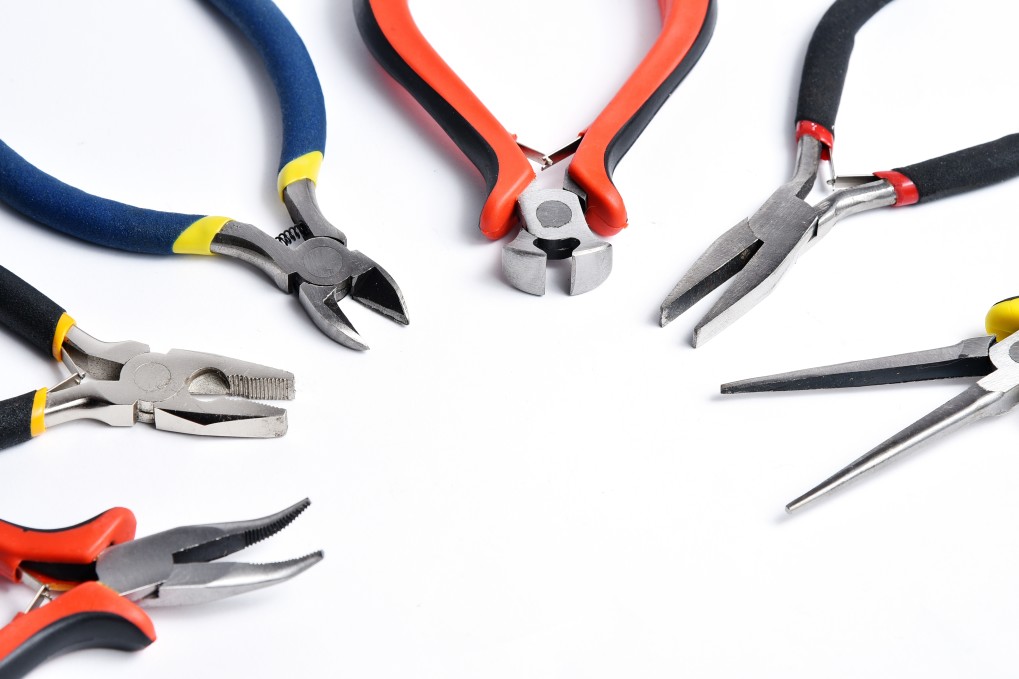
Just like pliers, wire cutters are also one of those basic tools that have a multitude of uses. When it comes to 3D printing, you will need wire cutters on a routine basis to cut filament off the spool when needed. As well as to cut actual wires during maintenance and repair or to add electronic features to your 3D print.
19. Hex key wrench and screwdriver set
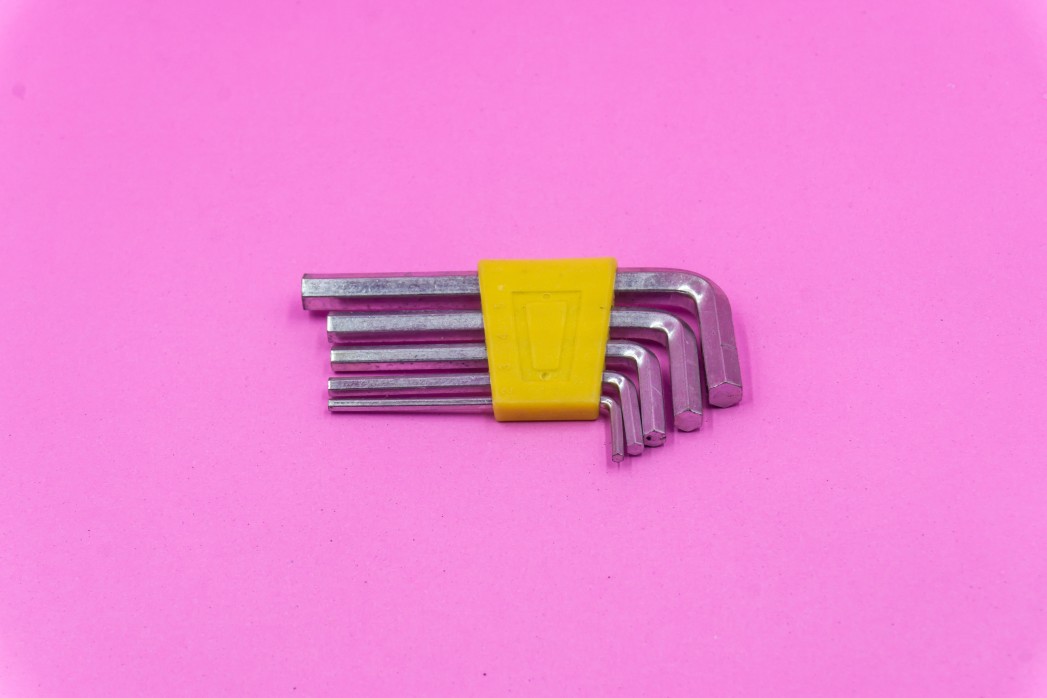
Hexagon screws and sockets are considered to be easier to use and less likely to strip than other screw/socket types. The consequence of course, is their widespread use in electronics, including 3D printer parts. So just make sure to have a wrench and screwdriver set handy.
20. Mini spanner tool or wrench
We’ve already discussed how the nozzle is going to require the most servicing in the 3D printer. One way to make working with it infinitely easier is to buy a mini spanner tool or wrench.
21. Thermal tape
Thermal conductive tape is special type of conductive double-sided adhesive tape that can be used in place of thermal paste or thermal pads in electronics. This is good to keep on-hand as it is a simpler and mess-free way of fixing (or adding) heatsinks to the stepper motor electronics or any other electronic components that would need cooling.
22. Digital calipers
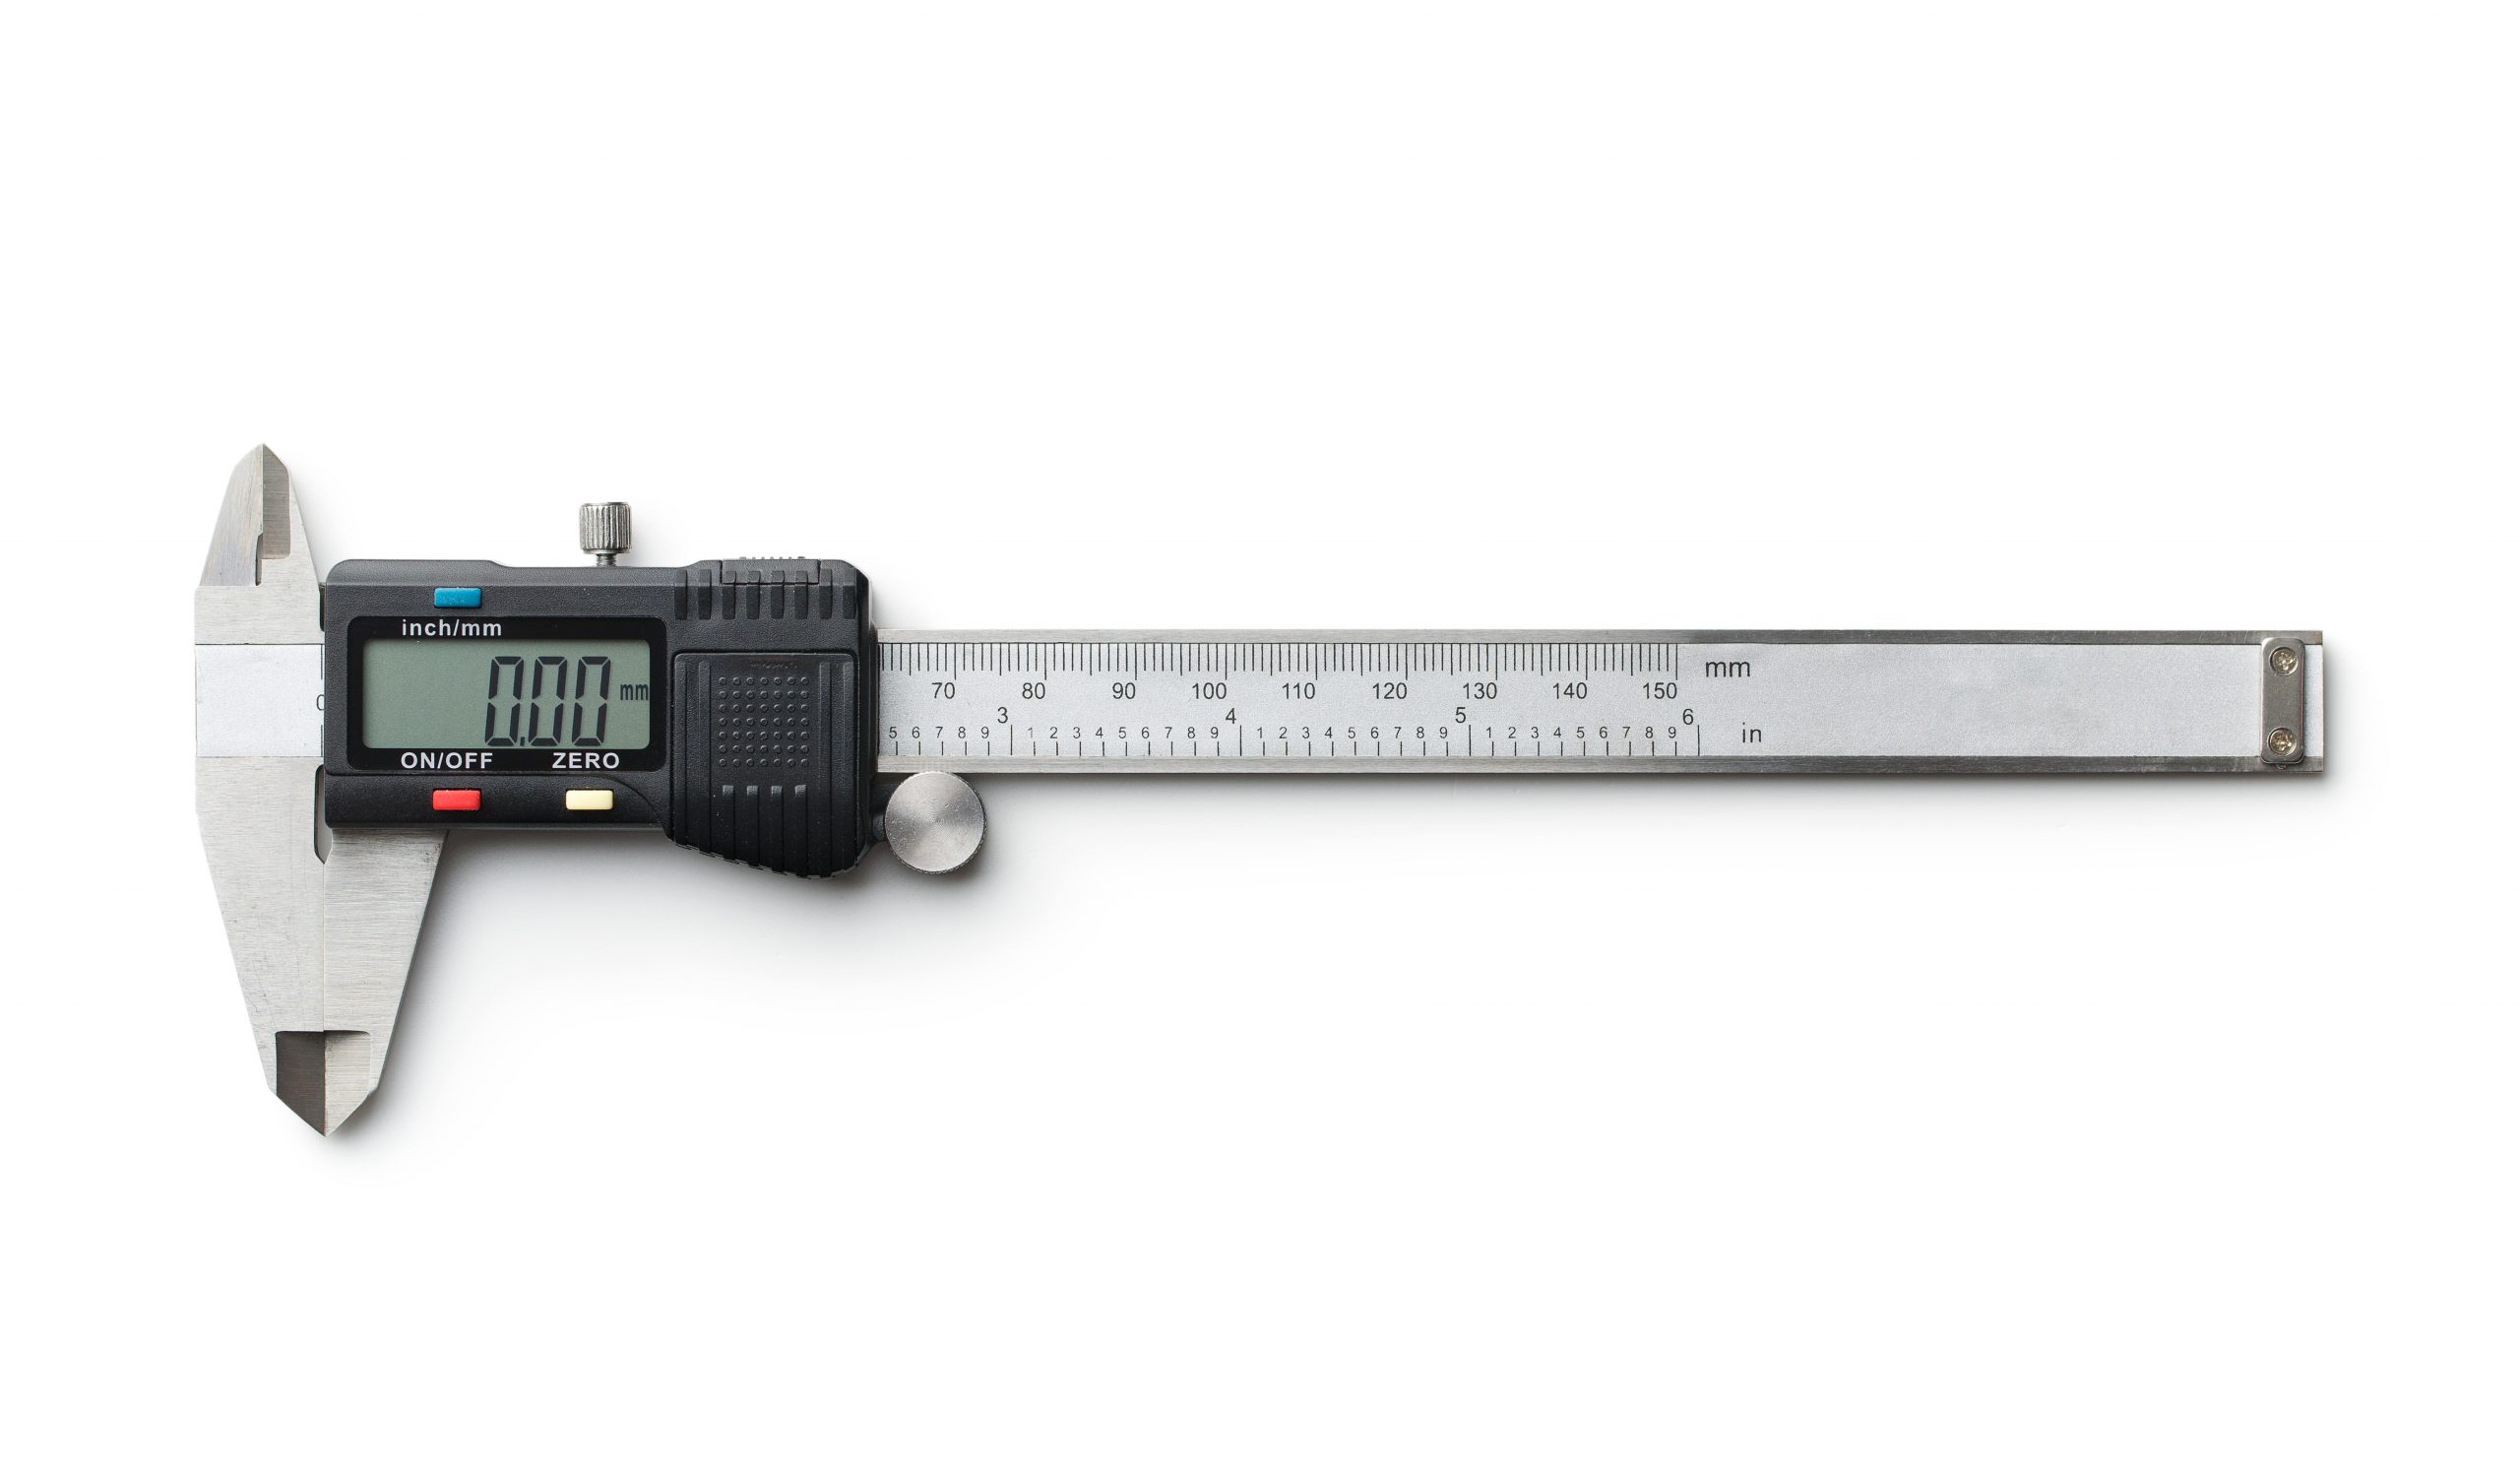
These digitized Vernier calipers provide accurate and fast readings for measuring objects. They are increasingly useful if you are designing a 3D print based on a real object. For instance, a phone case for some obscure brand of phone that you may love. With every DIY project, you would need accurate measurements to ensure that printed components are of the right specs. Make sure to have these as a main stay in your kit.
23. Spare print bed
You never know when your print bed could give out and need replacement. This is especially true if you are someone who frequently relies on 3D printing for your projects or even work. It is always a good idea to keep at least one spare print bed on-hand.
24. Blue painters’ tape
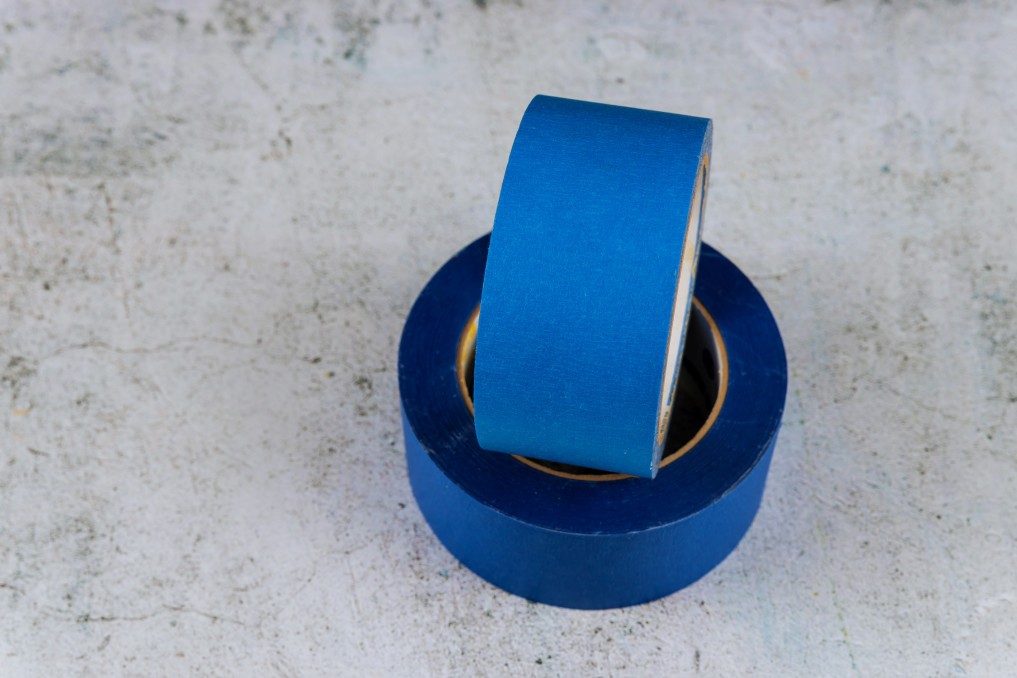
Blue painters’ tape is by far the most popular adhesive used on 3D printer print beds. Blue painters’ tape is widely known among the 3D printing community for providing great bed adhesion. It’s a great way to increase the life of your 3D printing bed underneath the tape.
25. Kapton tape
If you are printing with filaments that need a high temperature to print well, Kapton tape should be your go-to tape for print bed adhesion as well as protection. Applying Kapton tape can be tricky, but it is definitely worth the effort to both protect the print-bed underneath as well as to ensure that your high temperature 3D print can be easily taken off the bed once printed.
SUPPORTING EQUIPMENT AND ACCESSORIES
26. 3D scanner
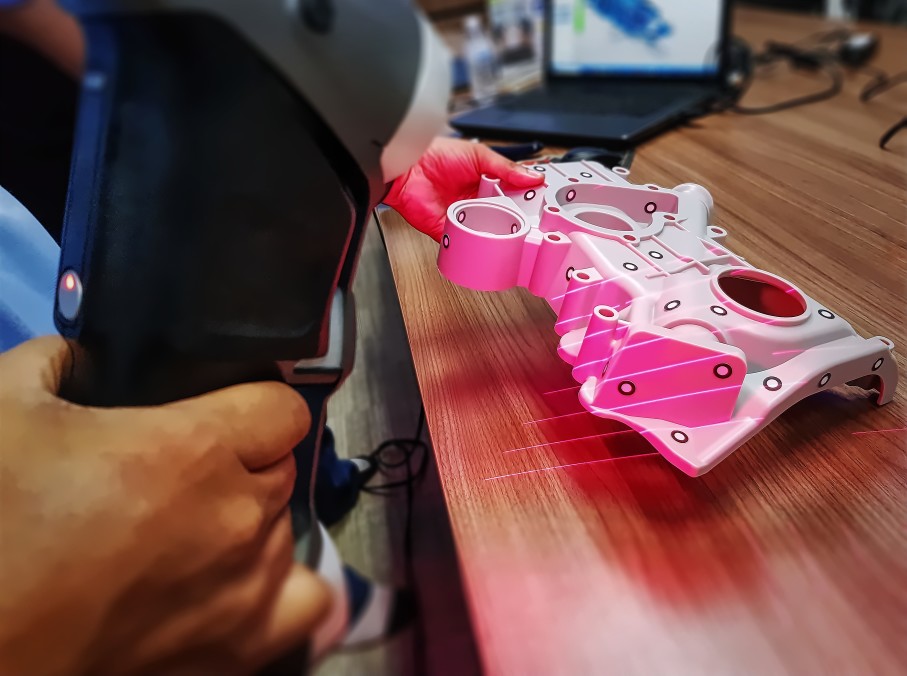
3D scanners are especially useful for duplicating existing real-world objects. 3D models can be produced with a scanner with little or no hands-on 3D modeling. Scanner typically use laser technology to scan and analyze an object to generate a 3D model.
27. Raspberry Pi
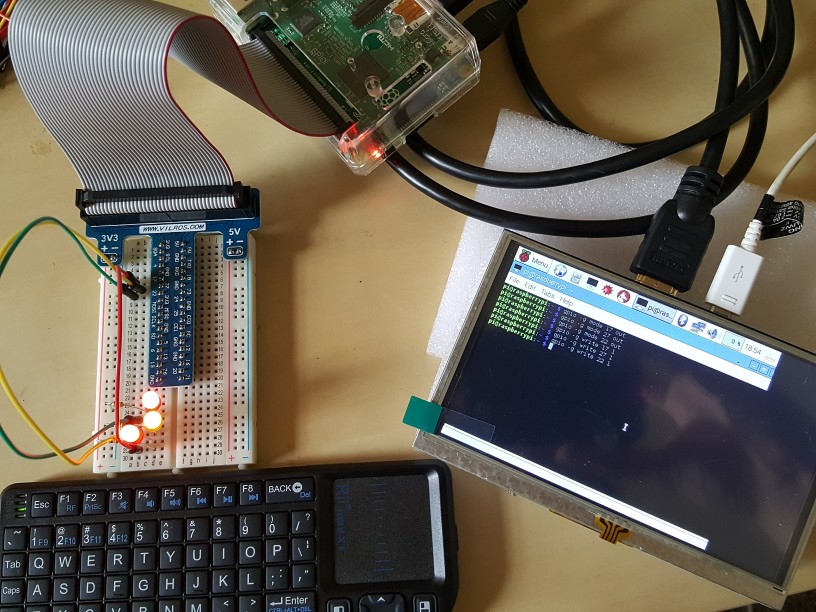
The Raspberry Pi is as revolutionary a device as the RepRap project itself. With the Pi camera, the Raspberry Pi is transformed into a miniature print monitoring and live-streaming device with the video potentially even casted remotely over the internet to your smart device or PC.
28. Octoprint
Octoprint is an all-in-one open source 3D printer monitoring and remote-control software developed and maintained by Gina Häußge. Simply set Octoprint up on a laptop or any PC connected with the 3D printer. You can even use the Raspberry Pi with its Pi camera extension. Once configured, Octoprint allows you to easily access your 3D printer settings as well as a live feed over the web.
29. Web enabled camera
If you don’t want to fiddle around with a Raspberry Pi, its Pi Camera and Octoprint, a simpler (and probably cheaper) alternative to just the video streaming aspect of it would be to invest in a web enabled video camera.
PERSONAL SAFETY (PPE)
30. Safety goggles
These are a must regardless of whether you are using FDM or Resin-based 3D printers. Just because 3D printers are easy to use and, most of the time, quite safe, does not mean that you should ignore safety. These are complex machines that involve electronics, toxic substances and high temperatures. The very principal level of safety is to at least protect your eyes.
31. Respirator
3D printers can sometimes emit harmful VOCs as well as UFPs into their surroundings. This is true for both FDM and SLA 3D printers. Not only is it important to keep your 3D printing workstation properly ventilated, if you are putting in long hours around 3D printers, it’s highly recommended to invest in a good respirator mask. Look for one with activated carbon, so that it would allow you to literally breathe easy around your 3D printers.
32. HEPA air purifier
If for any reason, you cannot ensure proper ventilation and fresh air into your 3D printing workshop, the next best thing is to invest in a good High Efficiency Particulate Air (HEPA) Air Purifier. These purifiers will not provide the same health benefits of actual fresh air, but it is certainly better than being in a completely closed room with a 3D printer.
33. Smoke detectors
3D printers have their safety needs, this much is fact. As with any machine that involves high temperatures and electronics, fire safety is a must. Smoke detectors are essential safety equipment to place in your 3D printing workshop or near your 3D printers in general.
34. ABC fire extinguisher
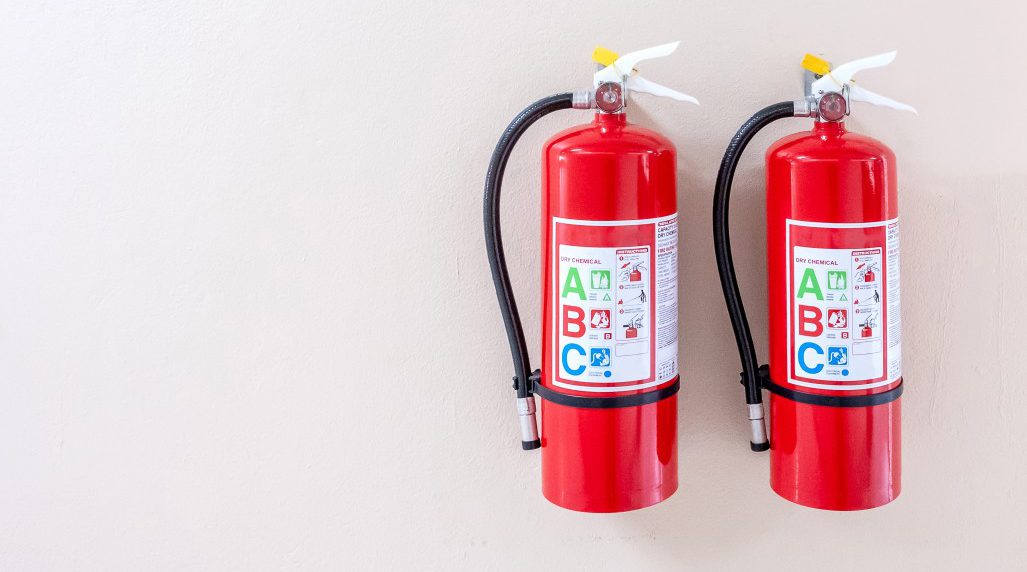
Since you never exactly know what would go wrong and catch fire. It’s best to plan ahead for all possible scenarios. Keep an ABC fire extinguisher that is suited for all types of flames. Make sure to keep an eye on the expiration date though. An expired fire extinguisher is just false hope.
35. Gloves
Buy yourself a box of disposable rubber gloves. These should be chemical resistant gloves so that you can safely operate around toxic chemicals like resins, as well as to protect your hands from any unwanted splashes or spatters of glue, paint or solvent.
CALIBRATION STL FILES
36. XYZ 20mm calibration cube
This calibration file allows you to optimize the linear calibration of a 3D printer. Simply print the file with your 3D printer, and then compare the dimensions of the 3D printed cube with the expected dimensions. After that, you can proceed to re-calibrate the “steps” of the step motor per millimeter in the 3D printer firmware. Designed by iDig3Dprinting.
37. Benchy
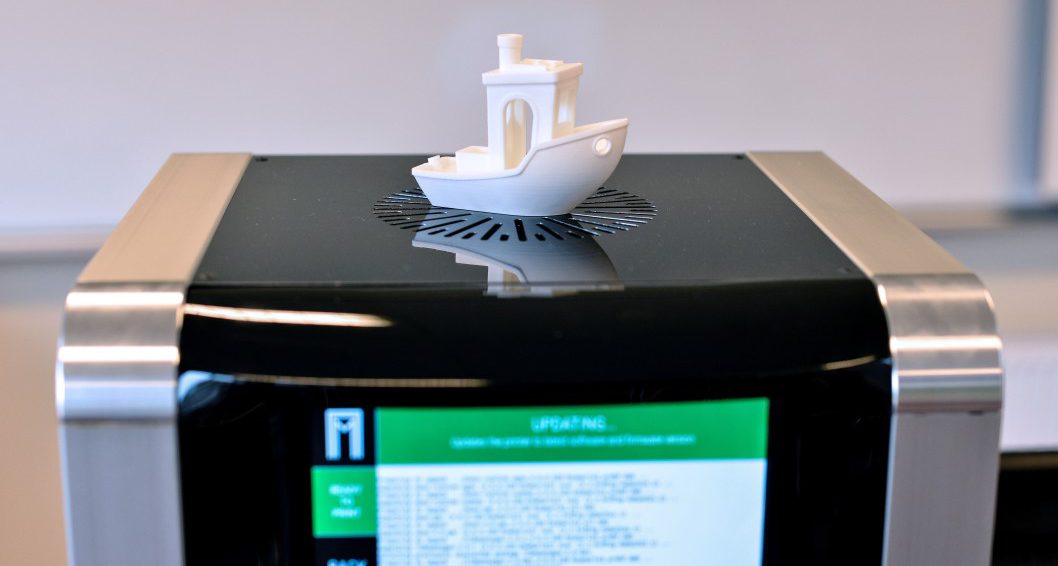
Benchy is a little boat design to put any 3D printer to its paces, the myriad details within this tiny little boat have allowed Benchy to become the go to torture test for 3D printer users across the globe. As for troubleshooting calibration issues, there is a vibrant community on social media sites as well as on Benchy’s dedicated website. Created by CreativeTools.
38. Part fitting calibration file
Another 3D printing test and calibration file is the one made by MEH4d for calibrating the tolerance of your 3D printer. The provided instructions are all that a user needs to follow in order to correctly calibrate the 3D printer for accurate wall width and print position on the print-bed. Thereby ensuring high quality and detailed results with even the trickiest of 3D models.
39. Temperature calibration tower
Every time you switch filaments or even some part of your 3D printer set-up (moving it from the bedroom to the garage for example), it can be a pain to properly calibrate print temperatures. The Smart Compact Temperature Calibration tower by gaaZolee is designed to address just that issue. Simply print the tower with its various temperature settings and you can see for yourself what temperature works best for print quality.
40. Retraction test
The retraction test file by Deltapenguin is a popular way of calibrating the retraction settings on your 3D printer. Ideal retraction settings allow prestine quality prints that are structurally sound without any stringing. Too much retraction leads to stringing, and too little leads to brittle prints.
41. Overhang test
This Overhang Test file by Walter is a customizable version inspired by the popular long overhangs test. Overhangs are any part of the 3D print that extend out from the main body of the 3D print without any support underneath. It is important to know how far you can take overhangs with your 3D print set-up properly calibrated. For anything more than what the 3D printer can achieve, it becomes necessary to add support structures to the 3D model.
42. Stringing test
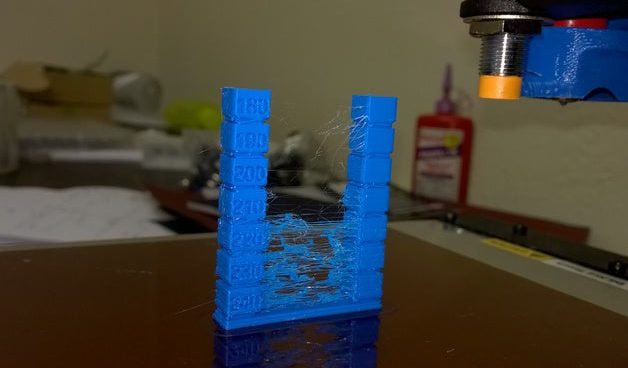
While you could calibrate stringing with a lot of the above-mentioned files, sometimes it’s just a lot easier and quicker to calibrate your 3D printer with one simple specific test instead. In the spirit of such simplicity comes the Stringing Test file by AndyPants550. Similar to the Compact Temperature Calibration Tower, this print will test the stringing of your filament at different hot-end temperatures.
43. Bed level calibration test
The bed leveling calibration test file by bsutton is a quick way to ensure a level bed on your 3D printer. Simply print the right file for your 3D printer set-up and level the bed as the 3D printer prints. Make sure to use your safety goggles and watch your hands.
44. Bridging test
The customizable bridging test file by Walter allows you to quickly assess and calibrate the bridging capabilities of your 3D printer. The values for the test can be customized if you want to test out a specific bridging value, just be careful not to go overboard as the customizer does not have error checking.
45. Step calibration piece
The step calibration piece by voltivo is a simple and handy way of calibrating the steps per millimeter of your 3D printer. The part is designed to assist in step-calibration of all three linear axes of the 3D printer. Simply print-out the file, carefully measure each dimension, and calibrate the 3D printer firmware to account for any differences with the expected dimensions.
46. Bed center calibration test
The bed center calibration test by 0scar uses parametric crosshairs inside of a square to help in checking whether the 3D printer is calibrated to the actual center of the print-bed. Detailed instructions and a walkthrough is included with the file on Thingiverse.
PRECISION CALIBRATION TOOL
47. Digital dial indicator
A digital dial indicator is an easier and more accurate way of leveling your print bed. A mount can easily be 3D printed for most popular brands. Or just use a simple clamp instead, to attach the digital dial indicator to the 3D printer hot-end and you can then proceed to level the bed based on the reading differences from one corner to the others.
48. Feeler gauges
Feeler gauges are a must-have in any tool set. With 3D printers, the primary use-case of feeler gauges is to measure the gap during manual bed leveling. Apart from this though, feeler gauges can also serve to be a quick and easy way of measurement during post-processing.
3D PRINTER MAINTENANCE
49. Wire brush set
3D printers need regular maintenance as well as cleaning. It is a lot nicer to have a full wire brush set on-hand for this than to always try and get away with using an old toothbrush.
Wire brush sets are also good to use in post-processing, for applying a thin coat of any substance, or to brush off any excess powder coating, especially from spherical surfaces where sanding can be a pain.
50. Nozzle cleaning kit
When it comes to 3D printing, the part that needs the most frequent cleaning and maintenance, is the print nozzle itself. Save yourself the hassle and the mess of using ad hoc solutions and just buy yourself an all-in-one nozzle cleaning kit.
51. Isopropyl alcohol
IPA is an excellent solvent to clean a 3D printer with. Especially for cleaning the print bed. Over time it is usual for plastic residue to build up on the build plate. A thorough rubbing with IPA will make it squeaky clean.
If you are using an SLA printer, IPA is also a great solvent to wash off the uncured resin from the 3D print.
52. Superlube/multipurpose grease
When it comes to the monthly maintenance of a 3D printer, lubricating and greasing the axes is an essential step. Superlube and its multipurpose grease formula is usually all you would need. Both for the XY axes, as well as the threaded rod. See, 3D printer lubrication: Everything you need know
Bonus: Bench top power supply
Sometimes electronics such as 3D printers like to go dark, with no power going through any of the components. Many times, a quick test with a backup power supply will quickly point to a faulty power supply. A bench top power supply eliminates the need for spare power supplies by giving the technician the ability to test and diagnose any circuit.
FINISHING AND POST-PROCESSING
53. Plastic craft saw
The plastic craft saw is a precision tool for modelling and modifying plastic objects. This thin sharp tool can be used in a myriad ways as the case may be, so make sure to have it in your 3D printer tool drawer.
54. 3D pen
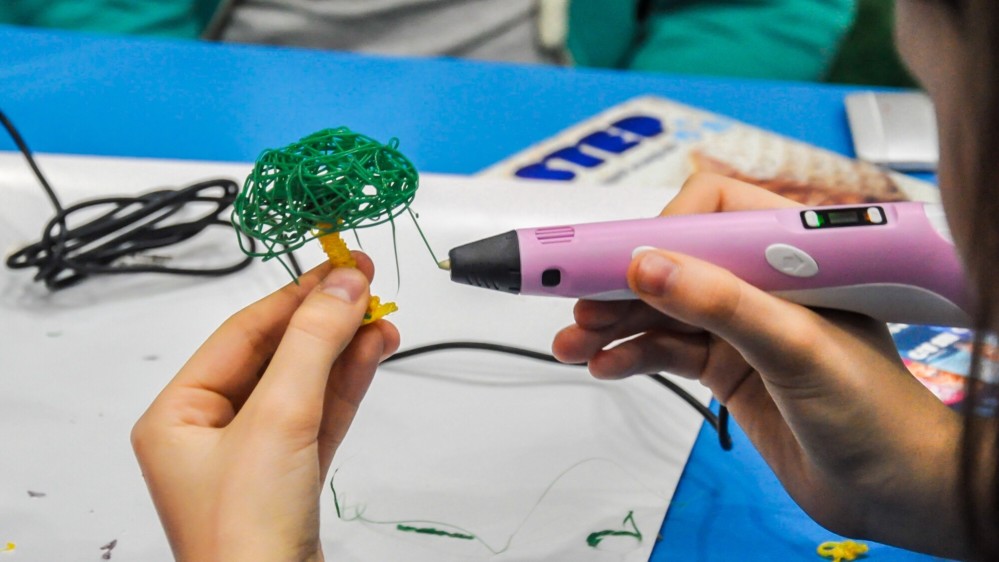
A 3D pen is basically a handheld FDM device that works much the same way as its bigger and more computer driven counterpart. 3D pens are even capable of using the same filament material (PLA and ABS are the most popular) as big 3D printers.
This makes 3D pens the cream to the 3D printer coffee. 3D pens are great for adding creative by-hand features to your 3D prints in post-processing. Additionally, you can also use 3D pens to simply correct some blemishes in the print as well as to repair any potential damage the post-processing itself may have caused (excess sanding, broken piece with support etc.)
55. Acrylic paint
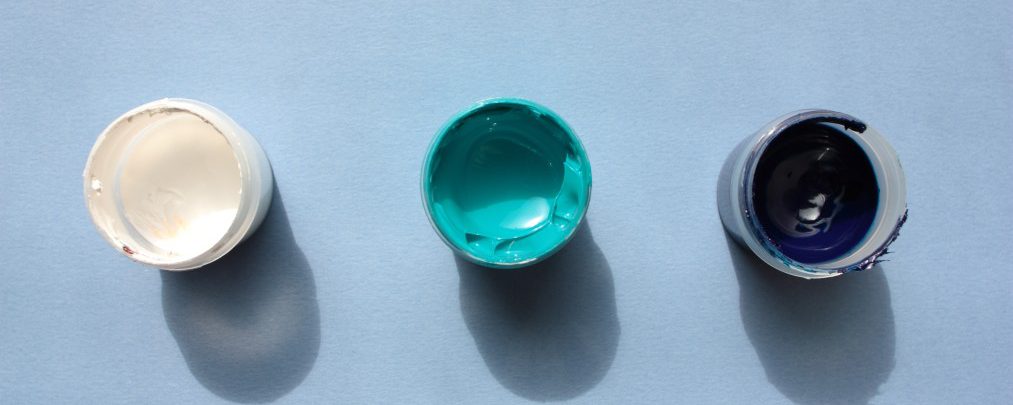
Acrylic paints are a great choice for painting 3D prints. They dry fast, are cheap to buy and easily available in spray paint as well as normal bottled packaging.
While you can use oil-based paints as well, for the large majority of projects, acrylics are easier to use and additionally, they do not fade over time like oil-based paints.
56. Graphite powder
Graphite powder rubbing is a technique to use for post-processing 3D prints that you want in a uniquely deep carbon black-grey shade. Graphite powder is soft to the touch, and extremely messy because you are literally just rubbing powder onto the 3D printed object. A very small wet coat on the object is all that is needed for the graphite powder to stick.
57. Air brush
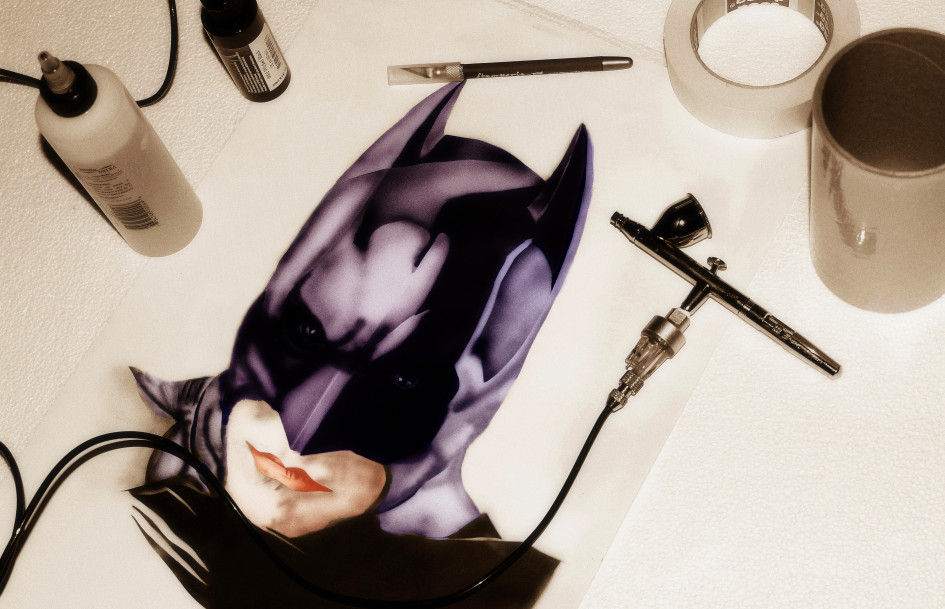
Air brushes can produce beautifully smooth results. And unlike spray cans, you can adjust the spread as well as the rate of paint flow. Airbrushes are, however, difficult to use than both brush painting as well as spray painting. If you do invest the time in it though, then professional grade finishes that normally would take a few days, would be done in a matter of hours.
58. Palette knives
While we are on the subject of art supplies, another great tool to have in your post-processing utility belt, is the humble palette knife. Palette knives can be used to scrape off the print from build plate. Additionally, you can also use palette knives in post-processing conventionally as well as to make colored indentations and simple engraving designs into the 3D object.
59. Deburring tool set
Deburring tools are a great way to make smooth edges around any hole or edge of your 3D print. They are a great tool to have for post-processing 3D prints, especially if they involve carving.
60. Sandpaper
Whenever the word “post-processing” pops up, it’s hard not to think about sanding. Both wet sanding and dry sanding can be used to make a smooth surface on any 3D print.
Alternatively, sanding can form just the first part of a series of post-processing steps on your 3D printed model. In either case, it is important to have good sandpaper on-hand in varying sizes of grit. Always start out with a coarse sandpaper, before finishing with a fine or ultrafine grit size.
61. Dental pick set
Dental pick sets are popular among enthusiasts because they provide a precise way to deal with those hard to reach parts on a 3D print. Additionally, they serve as handy tools when you are fiddling with teeny details on a complex 3D print.
62. Needle file set
A needle file set is the go-to tool in post processing a 3D print when you need to file down specific isolated blemishes. While you could sand the same spot, it’s a lot easier to not damage the part when using a file set than sandpaper.
63. Scalpel set/hobby knife
A scalpel set or a hobby knife set, along with a large sized cutting board, is all you need to cut-off all of the annoying support structures. Be careful with either of these blades though, they are designed to be sharp and precise. As such always make sure to hold or mount the 3D print so that your hands and other parts of the body are always away from the side that you are cutting towards.
64. Glue stick
Even painters’ blue tape or Kapton tape on top of the glass are sometimes not enough to ensure good layer adhesion on the build plate. Short of investing heavily in specific BuildTak surfaces, a cheap and easy fix is to give a quick rub of glue stick on top of the blue painter’s tape to increase first layer adhesion.
65. Dremel tool
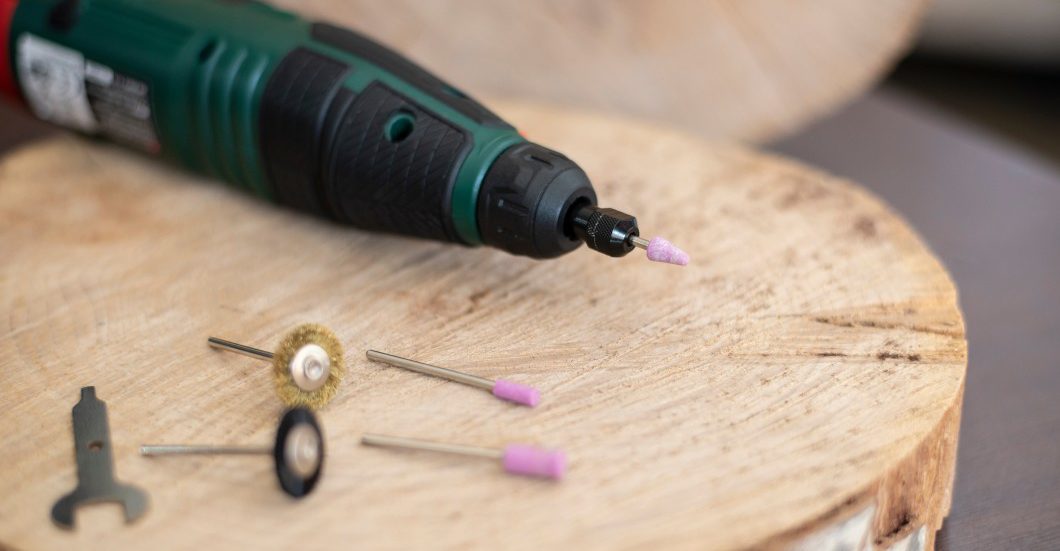
The multipurpose Dremel has long been a mainstay for post-processing 3D prints. That has certainly not changed in 2020. The flexibility as well as the quality of its output means that every 3D printing owner should invest in one.
66. Heat gun
While one coulduse a hair dryer to achieve the same effect. The purpose of buying a heat gun is that it allows you much greater control over the temperature of the hot air. Heat guns allow you to quickly deal with stringing as well as softening the plastic enough to be reworked in case of some glitch during the printing.
67. Soldering iron station
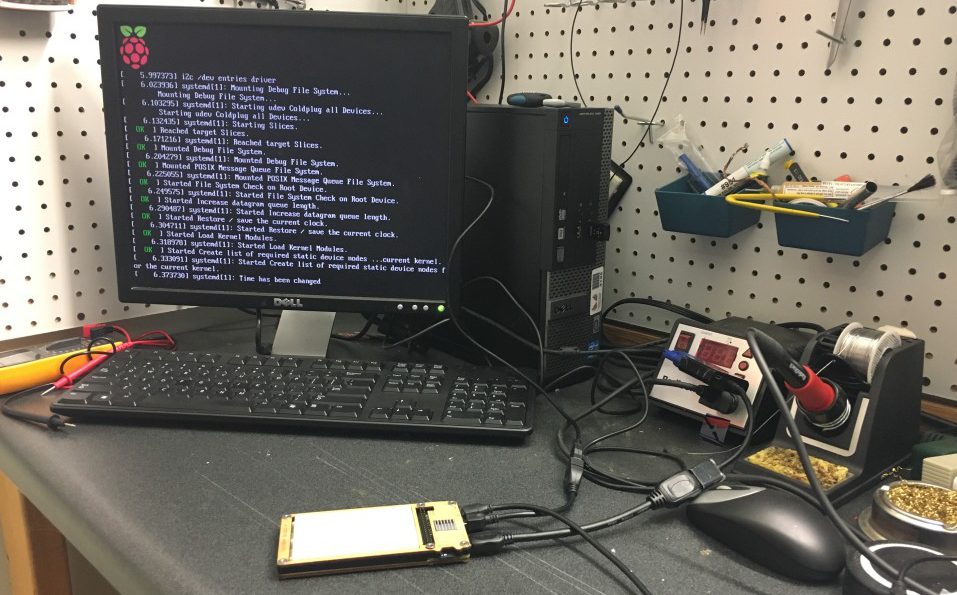
You could probably save yourself a few dollars here and there by repairing instead of replacing faulty electronics. Soldering Iron stations serve their best use in soldering on electrical components onto 3D prints.
68. Plastic welding glue
Plastic welding glue is basically just a fancy name for an ABS-acetone solution. 3D printing with ABS has the added benefit that you can chemically weld two 3D prints together by applying acetone on the joints and then holding them together. This melts the plastic in the joint and creates a welded joint which is much stronger than regular adhesive or glued joints.
69. All-purpose bondo putty
Bondo Putty can be used to fill in cracks from rough support removal, as well as any cracks or breakages that the print may have endured during post processing. Remember to sand the surface again once the putty is dry.


Nicely done list tks for doing it. One thing I would love to have but can’t because there outrageously price is a 3d scanner. But the normal individual can’t afford to pay that kind of money for a good one. So when a company comes out with a descent one an average person can afford to buy, let me know. The prices are ridiculous, anywhere form 5000 to 3500. Insanity.
tks
Certain phones have 3d scanning capabilities nowadays, same with Ipads! You should check that out! Also, I believe prices has dropped severely since you posted this, I would give it another shot shopping for one!