In this guide you will learn several methods for 3D printing wood grain along with some clever post processing tricks to bring the prints to par with actual wood.
When we talk about wood grain, we are referring to the feel of wood as well as its natural lines, swirls and marks that are easily visible, distinguishing wood from other materials.
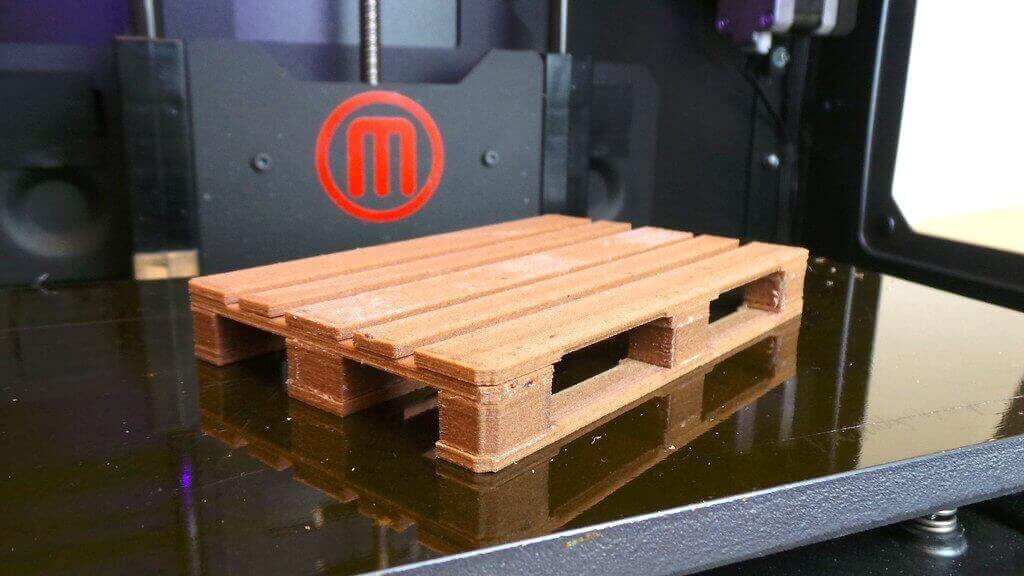
Not too long ago, authentic wood grain was considered impossible to achieve with 3D printing filaments. However, with the advent of new wood filament formulas, achieving a wood grain in 3D prints is no longer a pipe dream but an actual 3D printable reality.
In addition to the use of wood filaments, one can achieve a wood grain aesthetic through crafty post-processing, as well as 3D texturing on the 3D print object at the design stage. But even with these techniques, the best effect comes when they are used in tandem with a quality wood filament.
Wood filaments characteristic and what they are made of
Like metal and ceramic filaments, wood filaments are composite filaments that contain wood fibers infused with Polylactic Acid – PLA – in varying ratios. These ratios tend to not go higher than 70:30 for PLA to wood fibers. However even 30% wood fibers result in authentically woody 3D prints.
3D prints made with wood filaments tend to have a distinct scent of wood depending on what type of fibers were infused.
These days one can easily find wood filaments for cedar, birch, coconut, olive, cork, ebony and even bamboo. Moreover, the texture as well as the aesthetic is unmistakably that of carved wood.
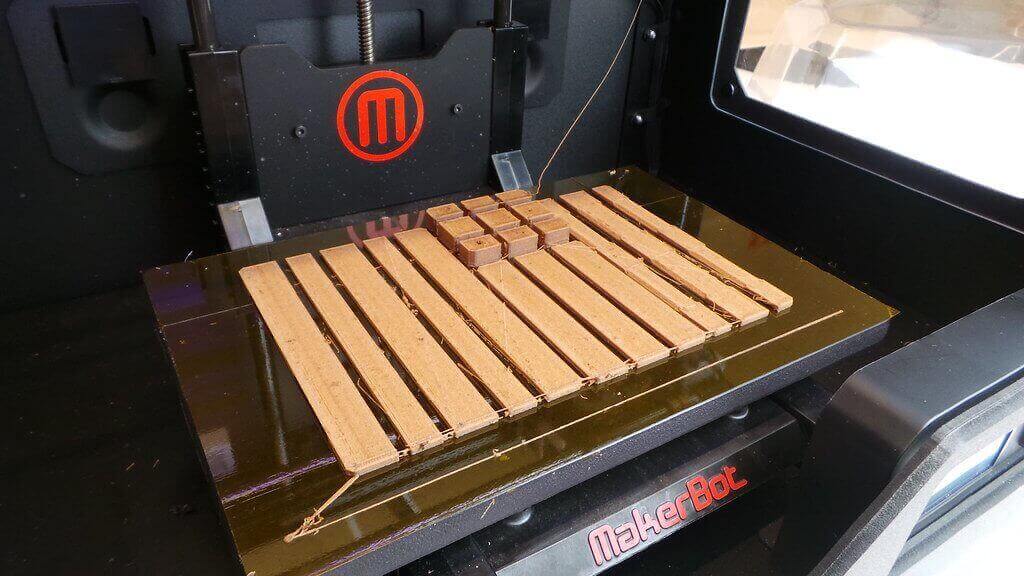
Prepping the printer and printing materials
Making sure that the printer and printing material is in the right working condition will ensure better print quality while also ensuring that the printing process is less prone to errors.
Dehydrate filament if necessary
First and foremost, wood itself is highly hygroscopic, so don’t be surprised if your filament becomes brittle. All that is needed to fix this is to chuck the filament spool in a desiccator or the oven to dry out the filament. Thereby ensuring at the very least, fewer issues when it comes to filament breakage.
Print temperature for wood filaments
Since wood filament is still largely PLA-based, so it goes naturally that both would print at similar temperatures. For most wood filaments, the ideal print temperature-range for the hot end is between 356°F (180 °C) and 464°F (240 °C).
And if you have a heated bed, then be sure to heat the bed to above 122°F (50 °C). For adhesion troubles, apply an adhesive on the print bed. Glue stick, painters’ tape or any other would work just fine.
Wood filaments tend to produce a strong burning wood smell during the actual 3D printing. So, be sure to provide ventilation if needed.
Also, wood is quite flammable even when mixed with PLA. It’s a good idea to pay attention to the part fan as well as the hot end on longer prints. We of course don’t want for the filament to catch fire (because it was moving too slowly at too high a temperature through the hot end).
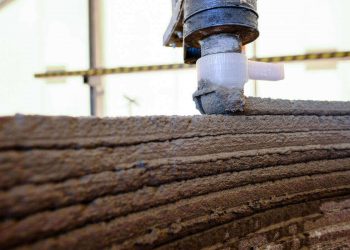
Clogging, oozing and stringing
One more step to make things a bit easier with wood filaments is to opt for a bigger (0.5 mm or greater) nozzle diameter to avoid clogging.
Wood filaments produce a coarse texture on 3D printed parts. This coarseness from the wood fibers, although a desirable feature of the initial wood grain, unfortunately also leads to easy clogging on smaller nozzles.
Owing to this same coarseness however, opting for a bigger nozzle and even taller layers still result in a part with less noticeable layer lines than one would expect.
As for oozing and stringing, adjust the retraction settings to ensure the print-head doesn’t go out of the print outlines to eliminate oozing (known as “Combing” in Cura). And if your slicer provides any settings similar to Simplify3D’s Coasting feature, enable it to control stringing.
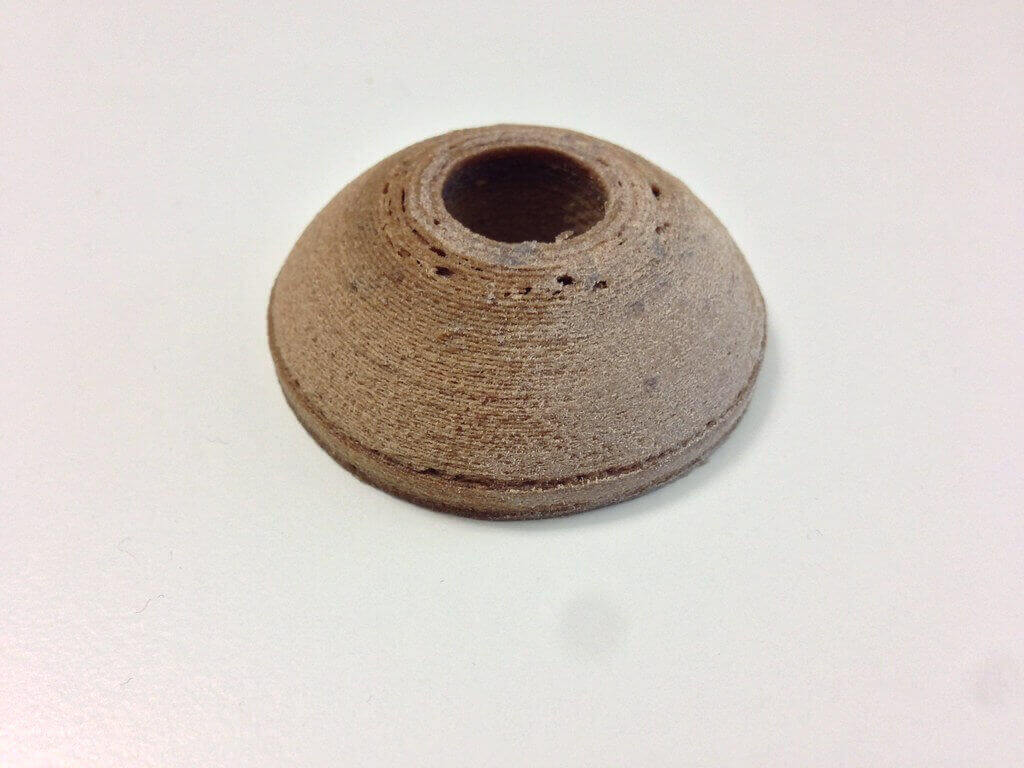
Adjusting temperatures to add tree rings to the print
One of the fun ways to manipulate the finish of wood filament is to play with the temperature of the hot end so that it varies at different stages of the 3D print.
Because of the flammable natures of wood, a higher print temperature produces a darker 3D print and vice versa.
While this can be done manually, for greater control, you may also opt for an automated script (Credits to Jeremie Francois) to produce a tree ring effect by modifying the G-code file directly.
The original python script can be downloaded from GitHub: 3D printing wood grain script.
Be sure to read the accompanying readme file as well as instructions for success.
3D printing wood grain by 3D texturing
This is primarily for the most dedicated or those with 3D modeling experience, but it is still worth covering due to its sheer effectiveness in producing a convincing physical texture.
While smooth 3D models result in a carved wood aesthetic. It is also possible to add a 3D texture to your 3D model before printing so that the slicer parses through a much more uneven and realistic top-surface for the 3D print.
Using displacement mapping for adding wood texture to 3D print
This is the go-to technique for 3D texturing for 3D printing purposes. Basically, a displacement map takes a texture file and applies it to a 3D render to produce new 3D geometry.
If this sounds easy that’s because it is. While specifics would vary from one software to another, the general principles for displacement mapping remain the same:
- Simply open your 3D object in your 3D graphics modeling software of choice.
- Also grab a 2D image map of wood grain that you’d like to use.
- Sub-divide the 3D object beforehand.
- Apply the suitable settings for mapping a 2D image map onto the 3D object.
- Apply a displacement map (e.g. via the displacement modifier in Blender).
- Select the wood grain 2D image map.
- Now simply play with the settings till you have achieved your desired aesthetic.
- Export to STL (or VRML for multicolored 3D printable objects).
- Slice the STL in your favorite slicer
And that’s it. Of course, this is only a good idea if you have a good wood grain image map to begin with. Try searching for wood texture image map.
But if you would like something more customized. Then an advanced technique such as sculpting may be used.
3D sculpting
As the name implies, sculpting means to directly alter the 3D geometry of a 3D model. Most programs such as Blender, Zbrush, SketchUp and the like provide a good number of tools for all sculpting needs. Just remember some key pointers:
- Use sculpting only when you need to apply custom wood grain or any other aesthetic.
- Make sure to apply a high-resolution geometry. Overshooting precision at this stage would spare a lot of problems when you finally let a slicer sink its teeth into the 3D model.
- Use sculpting in combination with 3D texturing such as displacement maps whenever possible to achieve a more natural uniformity.
Post-processing 3D print to add wood grain
Possibly the best part of using a wood filament is the easy and effective post-processing options that are made available.
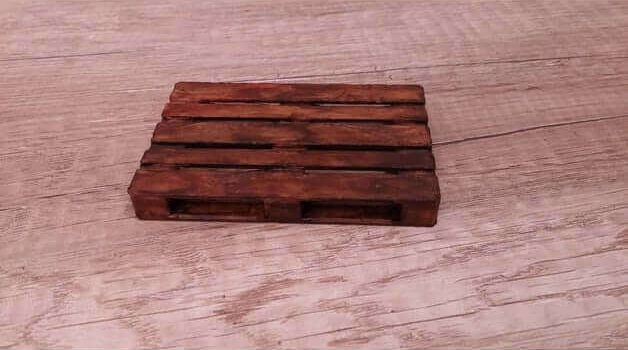
Just as with normal wood, wood filament-based 3D prints can be carved, engraved, varnished, sanded, painted, stained, burned and even aged much in the same fashion as actual 100 percent wooden objects.
Carving and engraving
The fun of post-processing a wood 3D print is that you can carve or engrave it just as you would with actual wood.
You can use a carving knife or engraving pen to add those final touches or even hide any misprinted areas as you see fit. Just make sure to vary the thickness of the top layer to not expose the in-fill.
Sanding for a smooth finish
Unlike real wood, varnish and lacquer is not required. Before you can sand the wooden 3D print:
- Always start off with a larger grit sandpaper and then slowly move down to a finer grit for a smooth finish.
- Sand along the grain or lines. You may opt to start off with dry sanding to further diminish the layer lines, however, be careful to not over-sand the piece.
- If you want a smooth finish, then go with wet sanding and sand in uniform motions.
Painting, staining and other wood finishes
Because of the naturally coarse exterior of wooden 3D prints, we can use any paint that works well for actual wood to achieve a similar aesthetic.
Wood filament remains largely porous even after 3D printing. So priming is not actually needed before painting. Moreover, painting directly over the 3D printed model will ensure that the wood grain remains visible.
Similar to painting, when it comes to wood stain, what’s good for wood is most certainly good for wooden 3D prints. Follow the instructions of the particular wood stain that you may be using, and you should achieve a similar finish.
It should be noted here that either painting or staining a wooden 3D print may enhance the layer lines instead of diminishing them. If that is not a desired look then make sure to sand the surface beforehand.
And since we are dealing with wood fibers here, you can also use a blow torch (carefully) to apply burn marks or just darken the 3D print in post-processing manually.
And similarly, one can age the wooden 3D print by using vinegar, baking soda or any other means that one would use to age wood. While the effect would not be as dramatic as actual wood, the exposed wood fibers, still, would react much the same way.
And lastly, make sure to seal in any finish with a topcoat or varnish or your choosing. Also apply a UV resistant coat before the varnish if the part is going to sit in the sun for any amount of time.
