In this article, we’re taking a look at the ideal 3D printing filaments for painting, and also, how to get the best results when painting 3D printed objects.
Disclosure: This post contain affiliate links, we may earn advertising commissions for sharing products we know and love.
Bonding power of 3D printing filaments with paint
3D prints in general tend to be somewhat tricky to paint. This is largely due to certain intrinsic characters in both how FDM 3D printing works, as well as the quality and smoothness of the 3D printing filament.
The not so paint friendly filaments
Stronger, tougher and otherwise more difficult-to-print-with filaments tend to be the most difficult to post-process with paint as well. For example, nylon is considered to be near impossible to effectively paint. The recommended coloring technique for Nylon-based 3D prints is usually to just dye the whole part.
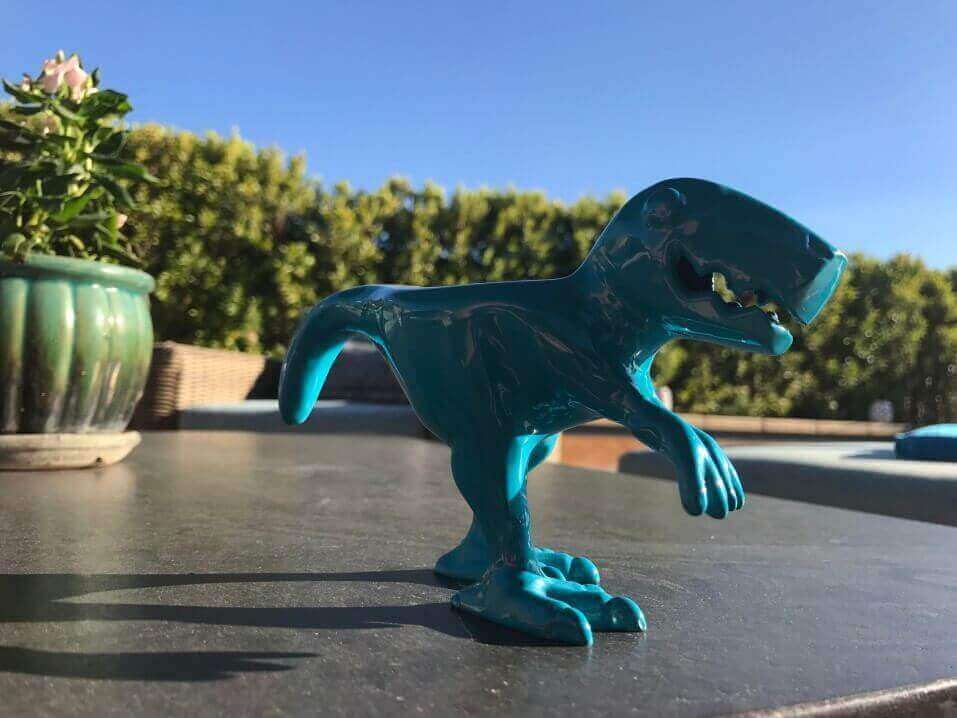
Other exotic filaments such as sandstone composite PLA also tend to be a tricky to paint on due to nature of the compound with which these filaments are formed.
Polycarbonate, polyamide and other high-strength engineering grade 3D printing filaments are also not easy to paint. However, owing to their industrial use, you may find overlapping specialized painting tools and paints for these materials from other industries.
The easiest 3D printing filaments to paint with
That leaves us, then, with the three most commonly used 3D printing filaments: Pure or colored PLA, PETG and ABS.
Both PETG and ABS are good for painting. ABS also have the advantage of being easier to smooth via acetone vapor treatment.
That being said, however, the ideal 3D printing filament must also be easy-to-print with, and this is where ABS start to lag a lot, whereas PETG lags a little behind pure PLA. PLA also tends to be the easiest of the three to be painted on.
All things considered, PLA is by far the best 3D printing filament for painting.
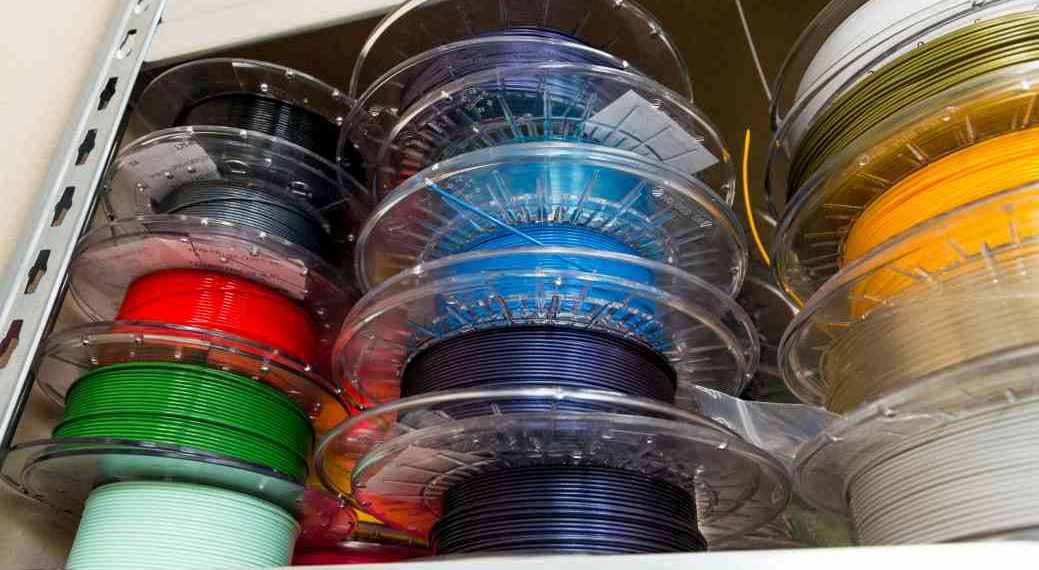
While other brands should also be worth your attention, the filaments we like to get for painting are listed below. There’s no real order to this list, we tend to get the one that’s on sale at the time.
The surface tension test for material and paint selection
The surface tension test is kind of an empirical litmus test to see whether or not a paint of your choosing would stick to the surface being painted on.
Simply put a drop of the paint you want to use, onto a flat surface – 3D printed with the filament that you are going to use for the final part.
If the paint drop remains mostly spherical and doesn’t spread, then that paint will not stick well to 3D prints made with that particular filament.
If, however, it does spread into at least a convex-lens shape – and ideally into an almost flat film on the flat surface – then that paint would stick well and provide good results with that filament.
Choosing the ideal filament color to paint over
If you are going to be painting your PLA 3D prints, a good idea would be to stick to neutral shades such as gray, white or even black for the filament color. Applying a coat of primer is highly recommended before painting, and the primer would hide the base color anyway.

It is much better to spend your money on a reliable spool of filament and good paint supplies, instead of paying more for fancy colored or speckled filaments.
How to paint PLA to get the best results
PLA tends to be a very forgiving 3D printing filament not only during the printing process, but also in post-processing. PLA can be painted with acrylics, enamels, and it can also be coated with varnish and other similar clear coats.
Painting bare PLA will, in most cases, give you okay results. But be aware that the natural layer-lines tend to become more visibly pronounced when painted. If that is the look you are after, then that is fine. But for those that want a smooth finish, it is best to follow the tried and tested multi-step method for post-processing 3D printed parts:
Step 1. Sanding the PLA 3D print
Once you’ve got your PLA 3D print off the print bed and the support structures removed, a good first step is to sand it. Take a medium grit sandpaper (between 100-200) and sand away any apparent imperfections or flaws in the print. Do the same for any protruding support structure remnants.
Giving the 3D print a light sanding helps the filler/primer stick much better to the 3D printed part which in turn helps with a nice smooth, professional looking paintjob at the end.
If the visible layer-lines are okay for you at this stage, then you can jump to step 3.
Alternatively, if you want a super-smooth surface for your finished piece, you should perform the optional step 2:
Step 2. Smoothing the PLA 3D print with Methylene Chloride
Before getting started with this step, do note that Methylene Chloride is highly toxic when ingested, so please for your own safety and the safety of others around you, do this in a well-ventilated, sufficiently isolated area. Always wear a suitable chemical respirator, eye-goggles and chemical resistant nitrile-rubber gloves when working with toxic substances. It’s never worth the risk.
Methylene Chloride, similar to acetone for ABS, is chemically corrosive to PLA. For best results, directly apply the methylene chloride to the PLA 3D print with either a brush or simply dip the PLA part in a vat of the chemical.
Once the part is fully soaked in the chemical, take it out and leave it in any well-ventilated area till it is dry. This method is a very quick way of achieving super-smooth texture on the PLA surface very easily.
However, make sure not to over-apply the chemical as it may eat through the top layer of the print if left too long with too much Methylene Chloride. That may expose the in-fill underneath and produce negative results.
Alternatively, you can use successively larger grit number sandpapers to sand the PLA 3D print to a super-smooth finish, but for obvious reasons, this would take a fair bit more time.
Step 3. Applying a filler-primer
This is the final preparatory step that we need to do before the actual painting. You can do it the traditional way and apply filler by-hand and then apply the primer. But in our opinion, using a filler-primer spray such as one from the Rust-Oleum series would work just as well and save a great deal of time.
Use 2-3 layers of filler-primer spray till you get a smooth even coating on the part. Make sure to keep the spray can at least a foot (12 inches) away from the PLA 3D print to ensure a consistent primer coating.
The primer, by acting as a much better bonding surface than the bare plastic, essentially will ensure that the paint readily sticks to the 3D printed part for long lasting results.
Step 4. Painting
Once you’ve gone through steps 1-3, painting the PLA part becomes much more a matter of artistic choice than a struggle of finding the paint that sticks and covers the bare plastic the best.

Provided that you applied a consistent primer layer, your options to paint the 3D print are pretty broad.
A primed PLA part can be painted with acrylics, enamels, as well as many other oil-based paints. As for the technique, just remember that
- Hand-painting works best for small, intricate details;
- spray paints are good for large, simple painting designs; and
- airbrushes provide the speed of spray painting with the precision of hand-painting. However, there is a learning curve involved to use them effectively.
Step 5. Finishing Coat
Once you have painted the 3D printed PLA part, the last step should be to protect all that hard work with a clear finishing coat.
There are both glossy and matte clear coats available for the type of aesthetic you want. Other finishing options include clear epoxy and varnish, both of which work well with painted PLA parts.
Additional considerations include whether or not the PLA part would be exposed to sunlight, in which case a UV-resistant clear coat or varnish would serve as a much better protection.
Why 3D prints tend to be tricky to paint
Paints like tacky surfaces, as this gives the resin in the paint mixture ample room for adhesion. At the same time, paint tends to spread easily over a smooth surface. That’s why we always apply filler and primer on brink-and-mortar walls before painting.
3D printed parts tend to have an un-even surface due to layer-lines, as well as somewhat of a glossy finish due to the high-temperature extrusion process. This resultantly provides very little in the way of good binding surface area for the paint to stick to. The choice of paint may also affect the results we get, as well as the ease of getting said results. Most users tend to have a much easier and more pleasant experience with acrylic-based paints. Enamels can be used as well, but your mileage may vary with them as well as with other more exotic varieties


